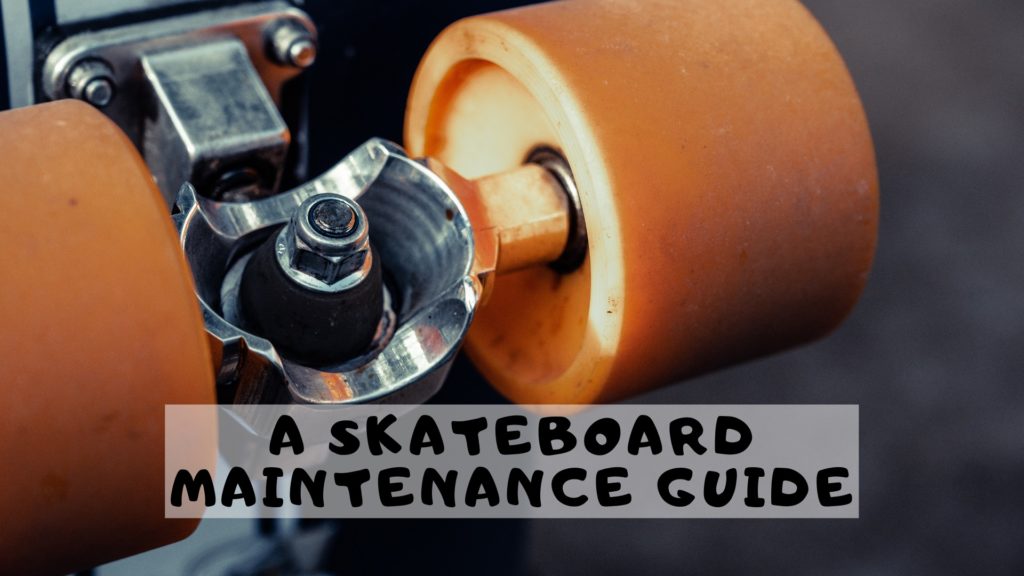
Let me show you some tricks and tips on how you can maintain a skateboard and prolong its life. Most probably, you got a new skateboard, and we all know the feel of a new board. The smoothness, no squeaky noise and the rigidity of a new board fade away over time.
If you are a beginner and probably got a new board but don’t know how to ride, adjust or maintain the board, don’t worry, this maintenance guide should take care of most of your problems.
Skateboard requires very little maintenance such as cleaning your bearings, rotating the wheels and sanding down the edge of your new board. That’s all there is to it.
With that being said, this is a perfect opportunity to learn something new about skateboard maintenance. A board is basically a collection of new components and parts that are bolted together.
Which means you can take it apart easily. Now, sometimes you might need to adjust something to keep the tension of the bolts just the way you want it.
Each board is different in type or size, and for that, you need to learn how to make your own adjustments.
For that, you need some tools.
- Phillips head screwdriver
- Bearing lubricant
- Methylated spirits
- Bearing cleaner
- A sheet of sandpaper
- Or just a skating tool for basic maintenance
Additionally, you can keep some socket wrenches or crescent if you don’t have a skate tool. Now, let’s get on with the skateboard maintenance guide.
How to Maintain Your Skateboard?
Have a look at this step by step maintenance guide for skateboard if you want to prolong the life of your setup.
Sanding
The first I want to cover first is sanding. You need to sand along the edges of your skateboard. This will help prevent chips from occurring in the tail and nose of your deck.
The process is very simple. First of all, you need to locate a rough patch on the edge of your skateboard. Apply a reasonable amount of pressure once you find a rough patch and sand accordingly. Once you sanded those patches away, you notice that the edges are now much smoother. But be careful not to sand too much in one area, or you might end up damaging the shape of your board.
Adjusting the Metal Axles

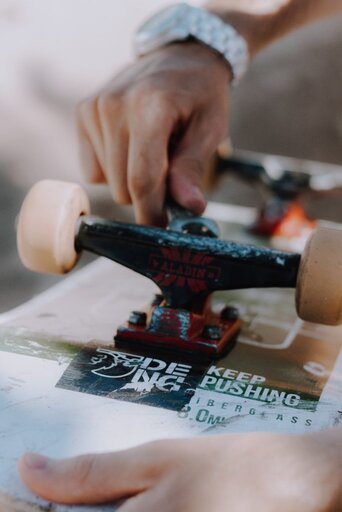
The tightness of the metal axle, aka the Trucks should be adjusted frequently. Your turning depends on them. If you are a beginner and want easier turns, you might want tighter trucks.
For small skaters, loosening them up a little might make things easier and do this when you are able to control the board better. You will only need a 9/16″ crescent to adjust the truck nut.
At the end of the kingpin, you will see a single large nut. It’s a repetitive process. First, try loosening the nut on each axle for about half a turn and give the board a try. Don’t loosen it up too much or else the nut will fall from the kingpin. It depends on your preferences, whether you want tighter nuts or looser nuts.
Cleaning Your Bearings
Now that we have that part taken care of, it’s time to look at the bearings. You need to find the right fitting in your skate tool and put it over your axel bolt. Then move the tool in an anti-clockwork direction and take your wheel off.
How To Do The Cleaning
Keep track of the wheels as you take them off. You need to put them back from where they came off.
Once you have taken your wheel off, make sure to put your washer and axle nut back on the same axle.
Don’t put the axle bolt on the last wheel because we are going to use that to pop the bearing out. To get your bearing out of the wheel, simply hang the bearing over the axle in a very shallow position.
Now, pull back the wheel, and the bearing will pop out. Do this for all your other wheels and once you have taken them all out, put them in an empty container.
Put your Methylated spirits in the container and completely submerge the bearings. Put a lid on top of the container and shake the bearings for about 30 seconds.
When you are done shaking, take the lid off and place each bearing on the table. You need to give the bearings about 15 minutes of drying time. Once you completely dry them out, they are now ready for lubrication.
Flip the bearings to the side that doesn’t have a bearing shield. Now apply two drops of bearing lube into the bearing. After you have done this, spin the bearing around your hand and make sure the lubrication goes around all of the bearings.
Reassemble The Board
Once all of the bearings are lubed up, put them over the axle and your wheel over them. Push the wheel down until you feel a popping sound.
Now flip the wheel over and put the other bearing on the axle and do the exact same thing. Repeat this step for all the other bearings. Now that all the bearings are in your wheels, it’s time to put them on. This is where rotating them comes into play.
Rotating the Wheels
You want to put each wheel on the axle diagonally opposite from where it originally came from. This means that your wheels get even wear and last the longest time possible.
It also helps if the graphic of the wheels is facing outwards and you can flip it inwards to allow them to wear out evenly. Now it’s time to put your wheels back on.
This is the reverse motion of how you took them out in the first place. Simply put the wheel on the axle, slip your washer on and tighten up the nut in a clockwise motion. Once you got the nuts on the axle, you have to make sure that you have enough room so that your wheels can spin freely and not move up and down too much.
Final Thoughts
Skateboards are meant to be scratched, chip, dent, and wear out. But with proper maintenance, you can easily prolong the lifespan of your board if you follow these basic tricks that I have shown you in this skateboard maintenance guide.
Before you leave have a look in the skateboard maintenance clip from openSource folks.